1. 개요
TCA의 Scope를 사용하는 방법과 동작 방식을 간단한 예제로 알아보았다.
iOS 앱의 Navigation depth가 깊어지거나, macOS 앱의 Pop-up, Modal 화면 등을 추가하다보면 자연스럽게 하위 View의 동작이나 상태 변화를 상위 View로 전달해야 하는 일들이 생긴다.
TCA는 비즈니스 로직을 Reducer에서 구현한다.
따라서, 하위 View의 Reducer에 어떤 Action이 실행되고 있는지를 상위 Reducer에서 감지하고, 동시에 Action을 실행할 수 있으면 된다.
이 때 Scope를 사용하면 된다.
2. Scope 공식 문서
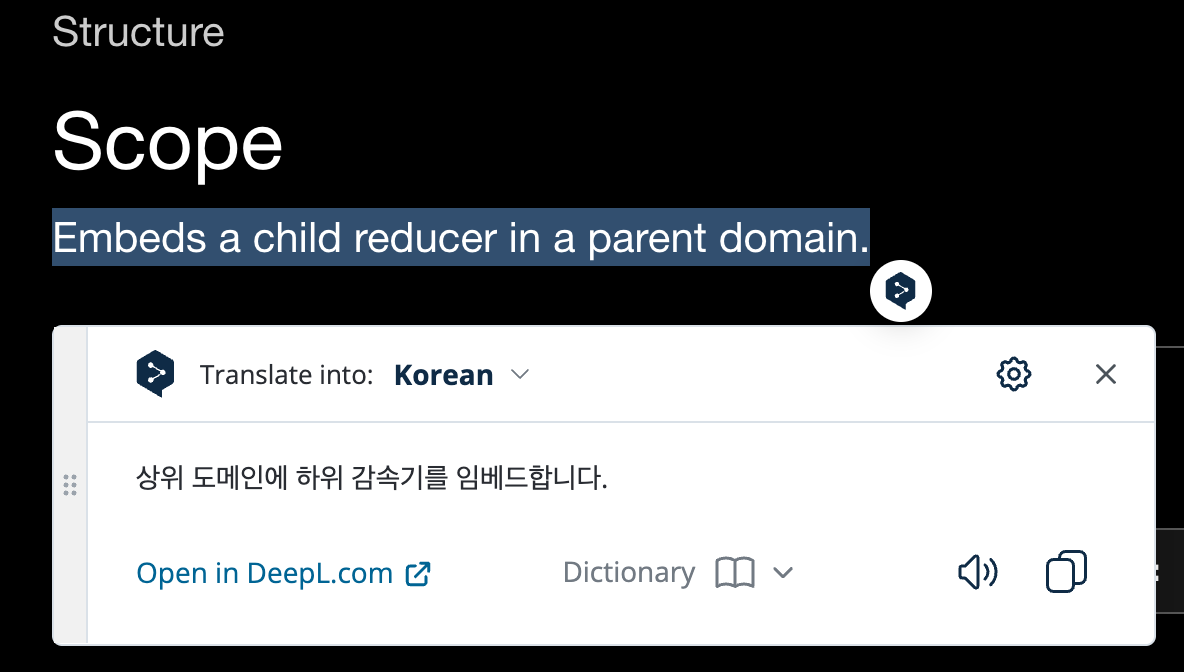
TCA 공식 문서의 Scope에 대한 설명은 다음과 같다.
상위 도메인에 하위 Reducer를 Embed(포함) 시킨다.
3. 사용 예제
macOS 버전으로 Scope를 사용하는 간단한 예제를 만들어 보았다.
MainView가 SubView를 감싸고 있는 형식이고, 한 눈에 보기 편하게 하려고 Pop-up 으로 만들지 않고 한번에 보이게 했다.

- View code
import SwiftUI
import ComposableArchitecture
struct MainView: View {
let store: StoreOf<MainFeature>
@ObservedObject var viewStore: ViewStore<MainFeature.State, MainFeature.Action>
init(store: StoreOf<MainFeature>) {
self.store = store
self.viewStore = ViewStore(self.store, observe: { $0 })
}
var body: some View {
HStack(spacing: 30.0) {
VStack {
Text(viewStore.title)
.font(.title)
Text(viewStore.subState.value.description)
Button("button") {
viewStore.send(.tappedAction)
}
}
SubView(
store: self.store.scope(
state: \.subState,
action: MainFeature.Action.subAction
)
)
}
.padding()
.background(Color.blue.opacity(0.2))
}
}
import SwiftUI
import ComposableArchitecture

struct SubView: View {
  let store: StoreOf<SubFeature>
  @ObservedObject var viewStore: ViewStore<SubFeature.State, SubFeature.Action>

  init(store: StoreOf<SubFeature>) {
    self.store = store
    self.viewStore = ViewStore(self.store, observe: { $0 })
  }

  var body: some View {
    VStack {
      Text(viewStore.title)
        .font(.title)

      Text(viewStore.value.description)

      Button("SubView Button") {
        viewStore.send(.buttonTapped)
      }
      .padding()
    }
    .background(Color.green.opacity(0.2))
    .padding()
  }
}
- Store code
import ComposableArchitecture

struct MainFeature: Reducer {
  struct State: Equatable {
    static let initialState: State = State(
      title: "Main View"
    )

    var title: String
    var subState: SubFeature.State = .init()
  }

  enum Action: Equatable {
    case tappedAction
    case subAction(SubFeature.Action)
  }

  var body: some Reducer<State, Action> {
    Scope(state: \.subState, action: /Action.subAction) {
      SubFeature()
    }

    Reduce { state, action in
      switch action {
      case .tappedAction:
        print("Main View Button Tapped.")
        return .none

      case .subAction(.buttonTapped):
        print("Sub View Button Tapped. (Here is MainView)")
        return .none

      }
    }
  }
}
struct SubFeature: Reducer {
  struct State: Equatable {

    var title: String = "Sub View"
    var value: Int = 0
  }

  enum Action: Equatable {
    case buttonTapped
  }

  func reduce(into state: inout State, action: Action) -> Effect<Action> {
    switch action {

    case .buttonTapped:
      print("Sub View Button Tapped. (Here is SubView)")
      state.value += 1
      return .none
    }
  }
}
- 동작 화면
4. 설명
- Scope의 위치
Main의 Store인 MainFeature.swift의 reduce() 내부에 Scope 코드를 작성해주었다.
var body: some Reducer<State, Action> {
Scope(state: \.subState, action: /Action.subAction) {
SubFeature()
}
}
Main Reducer가 Sub Reducer를 자기 자신의 영역(Scope) 안에 갖고 있는 모양새다.
이 때 Scope 생성자의 매개변수로 넘겨주어야 하는 Sub의 State와 Action은 MainFeature에서 직접 선언하여 갖고 있는것을 넘겨준다.
struct MainFeature: Reducer {
  struct State: Equatable {
    var subState: SubFeature.State = .init()
  }

  enum Action: Equatable {
    case subAction(SubFeature.Action)
  }
}
- SubView의 위치
struct MainView: View {
var body: some View {
HStack(spacing: 30.0) {
VStack {
...
...
}
SubView(
store: self.store.scope(
state: \.subState,
action: MainFeature.Action.subAction
)
)
}
}
}
SubView의 표시는 MainView 내부에서 직접 해준다.
Main이 갖고 있는(초기화 한) Sub의 State와 Action을 그대로 사용해야 하기 때문에 직접 SubView를 갖고 있어야 하는 구조가 된다.
결과적으로, Main이 갖고 있는 State와 Action을 그대로 활용해서 Sub의 Store로 만들어서 넘겨주는 구조가 된다.
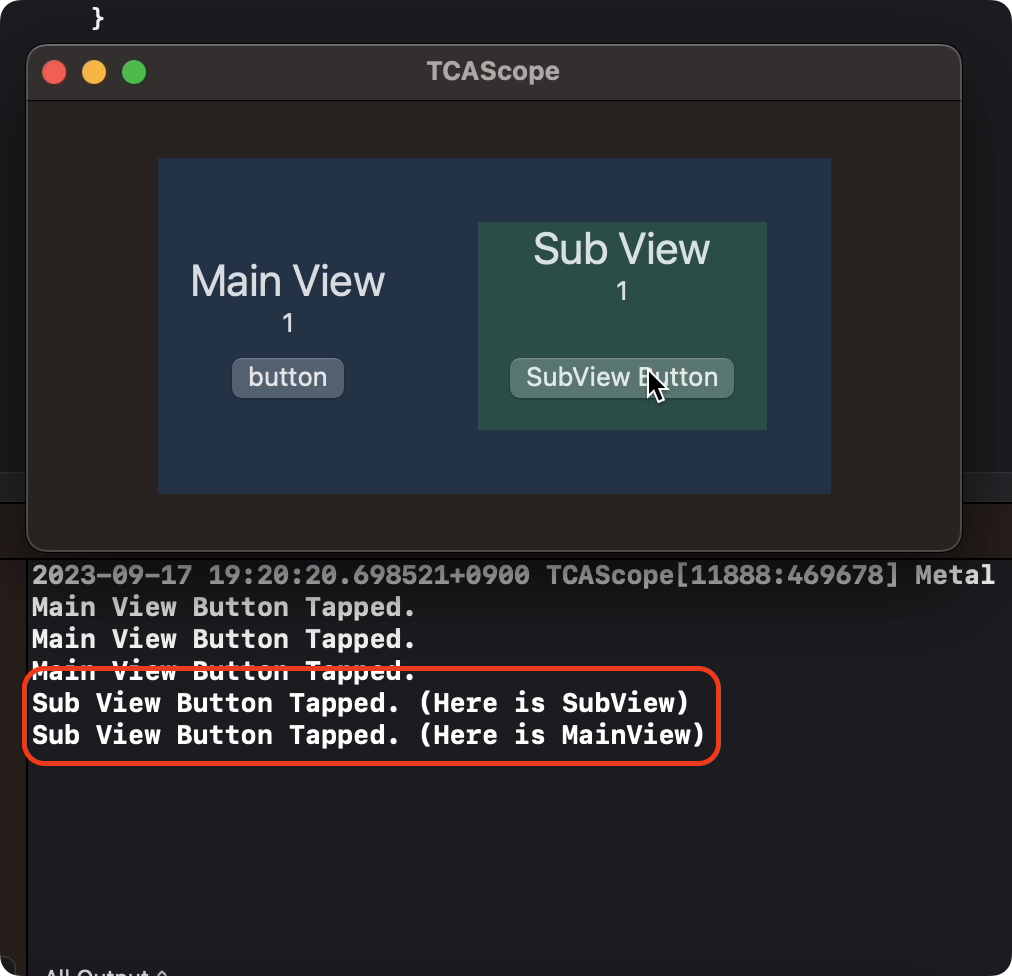
- 동작 방식
동작 gif를 보면, SubView의 버튼이 탭 될 때, Main의 Reducer도 함께 호출되는 것을 확인할 수 있다.
struct MainFeature: Reducer {
var body: some Reducer<State, Action> {
Scope(state: \.subState, action: /Action.subAction) {
SubFeature()
}
Reduce { state, action in
switch action {
case .tappedAction:
print("Main View Button Tapped.")
return .none
case .subAction(.buttonTapped):
print("Sub View Button Tapped. (Here is MainView)")
return .none
}
}
}
}
Reduce { } 코드 상단의 Scope를 작성함으로 인해 Sub의 Action을 Reducer 내부에서 감지해낼 수 있게 된다.
또한, 위 예제 코드에서는 SubView의 버튼을 탭 할때마다 State의 변수값을 +1 시켜주고 화면에 표시하도록 했는데, 그 변수에 MainView에서 직접 접근도 하고 옵저빙까지 할 수 있는것을 볼 수 있다.
그리고 항상 Reducer의 동작 순서는 Sub 다음 Main이라는 점도 알아두면 좋을 것이다.
5. 정리
만약 SubView에서 어떠한 Aciton이 동작하는 것을 상위에서 감지하고 직접 처리해주어야 하는 로직을 개발해야 한다면, 위처럼 Scope를 사용하여 상위 영역에서 직접 처리를 하면 될 것이다.
그러한 로직을 적용한 대표적인 개념이 Coordinator pattern 인 것 같다.
모든 View들을 알고 있는(감싸고 있는) Coordinator는 하위의 View들에서 어떤 버튼이 눌리는지 알고 있고, 그래서 프로그래밍 방식으로 화면을 push 또는 back 시켜줄 수 있게 되는 것이다.
실제로 TCACoordinator library의 예제를 살펴보면 Scope를 사용해야 하는 것을 알 수 있다.
그리고 이렇게 Scope를 활용하는 방식이 TCA의 큰 장점들 중 하나인 것이다.
위 예제에서 SubView, SubFeature는 모두 Main에 대해서 알지 못한다. 상호간의 참조가 필요없다는 것이다.
양방향 참조가 일어나지 않는다는 것은 객체들간의 결합을 느슨하게 만들어준다는 의미이고, 이는 코드를 보다 더 유연하게 작성하고 쉽게 테스트할 수 있는 구조가 될 수 있게 해준다.
아주 직관적인 방식으로 Reducer들을 분해하고 결합할 수 있게 제공하는 것이 TCA의 가장 큰 장점이 아닐까 싶다.